When errors occur, navigating the complicated geography of a desktop motherboard decorated with chips, capacitors, and resistors may appear daunting. Contrary to popular belief, our advice streamlines the troubleshooting procedure.
We’ll walk you through the step-by-step process of motherboard repair, demystifying the complexity and equipping you to diagnose and potentially repair problems with your desktop motherboard.
In actuality, seemingly complex situations can have simple solutions. This tutorial tries to dispel myths and demonstrate that problems, even inside the maze of chips and components, can frequently be as simple as resolving dust accumulation or identifying broken components.
By following our detailed instructions, you will not only obtain a better understanding of your motherboard but also learn how to troubleshoot typical problems that may develop.
Post Contents
Recognizing Potential Problems
The lack of a display on your computer does not always indicate a problem with the motherboard. If you can hear the fan hum and other system sounds, the problem may be easier than you believe. Let’s get started troubleshooting and restoring your computer’s display.
Wire and Connectivity Inspection
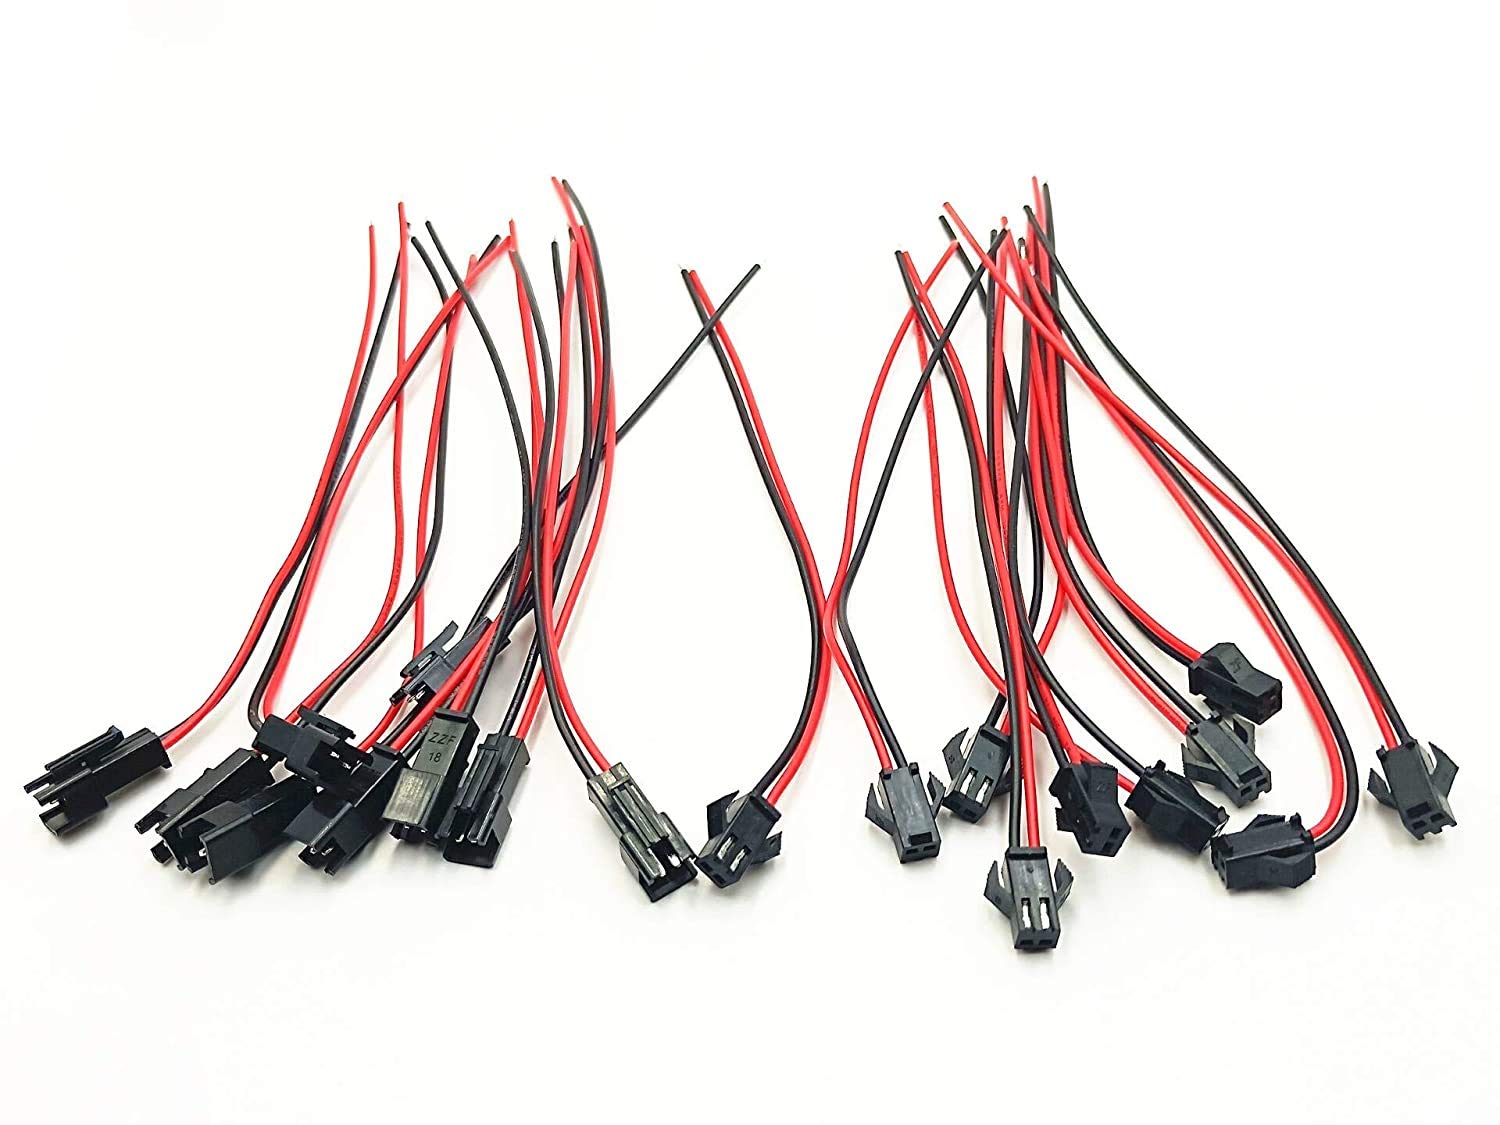
Begin the troubleshooting process of motherboard repair by doing a comprehensive Wire and Connectivity Inspection. To ensure an uninterrupted flow of current, ensure that the power and video (VJ) connections are securely linked. This step is crucial for ensuring that your computer and display communicate effectively.
By ensuring the secure attachment of these cables, you lay the groundwork for long-term connectivity, lowering the likelihood of disruptions and potential problems.
This thorough investigation lays the groundwork for a robust and dependable computing experience, highlighting the significance of core pieces in ensuring flawless communication inside your system.
NUM Lock Check
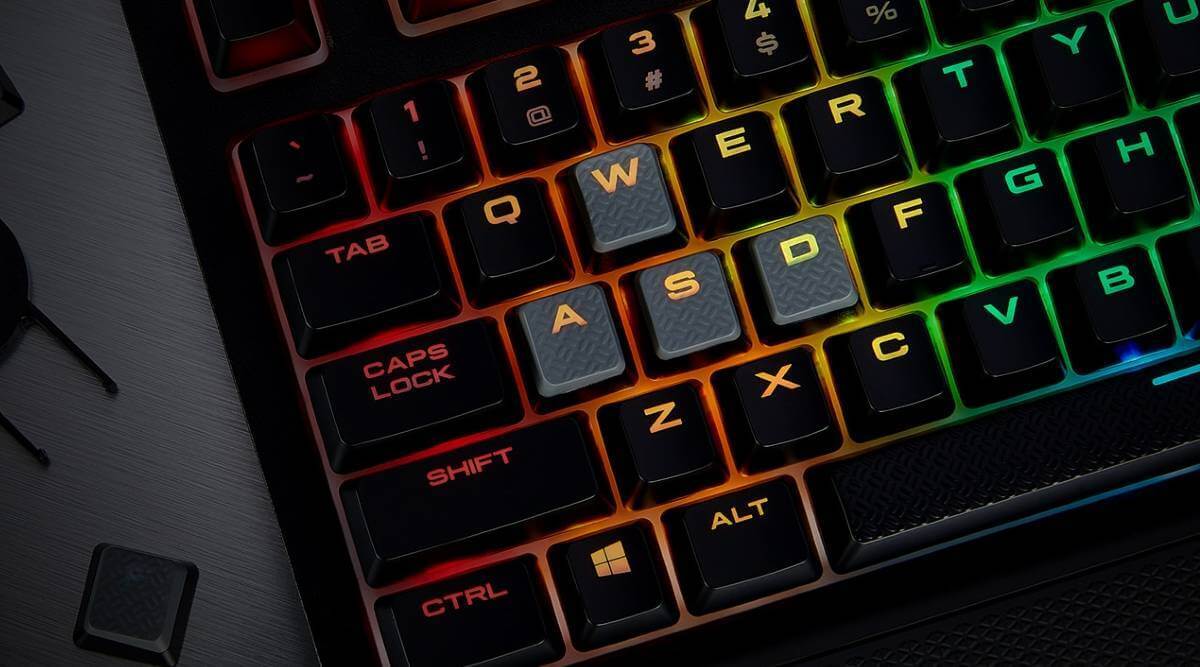
To test your computer’s operation, do a NUM Lock Check. Simply push the NUM lock, and if there is no illumination, it indicates that there may be a problem with the PC’s operation.
This brief diagnostic step aids in the identification of underlying issues, allowing for early troubleshooting and resolution to guarantee your computer runs smoothly.
RAM Examination
Remove the RAM and clean it gently to remove any dust, carbon, or moisture. Replace the RAM in its original slot and repeat the operation for all RAM slots. Consider changing the RAM if none of the slots display anything.
Capacitor Inspection
If the problem persists, verify all of the capacitors on the motherboard. Replace any capacitors that are defective or exhibit evidence of moisture damage.
Check the bridge and power supply
Examine the bridge that supplies electricity to the display drivers and the monitor. To keep a reliable power supply, make sure it’s working properly.
Resistor Testing
Examine the resistors between the ICs and RAM chips. Because they are connected in series, detecting and replacing a faulty resistor can frequently cure problems.
Cleaning and Rust Removal
Eliminate hardware problems by addressing rustiness or erosion, which occurs in more than 90% of situations. To ensure the best performance and endurance, this step of motherboard repair is crucial. Thoroughly clean the motherboard and replace any damaged or burned components, such as capacitors or resistors.
Conclusion
Consider these motherboard repair steps before doing a computer restart or BIOS reset. DIY troubleshooting not only saves you time and money but it also enables you to identify and repair any faults inside your computer’s vital components.
The importance of paying close attention to detail cannot be overstated, as this proactive approach can considerably contribute to renewing and prolonging the lifespan of your computer.
Recognizing the significance of these repair procedures not only fosters a deeper awareness of your system but also provides you with vital skills for preserving its best operation.
FAQs
Q1: How can I troubleshoot a slow computer?
A1: Optimize performance by deleting temporary files, conducting a malware scan, and ensuring ample storage space on your device. Enhance efficiency and security with these three essential tasks.
Q2: What should I do if my computer won’t turn on?
A2: Verify power connections, examine for hardware issues, and attempt an alternate power outlet before considering professional help for motherboard repair, streamlining your troubleshooting process.
Q3: How do I protect my computer from viruses?
A3: Secure your system by installing reliable antivirus software, maintaining an up-to-date operating system, and refraining from clicking on dubious links or downloading files from untrustworthy sources.


